Flood Area Segmentation
The Flood Area Segmentation dataset contains 290 images of flood scenes with binary segmentation masks indicating flooded regions.
After downloading, the dataset has the following structure:
Image/      290 .jpg images  (e.g. 0.jpg, 1.jpg, ...)
Mask/       290 .png masks   (e.g. 0.png, 1.png, ...)
Each image has a corresponding PNG mask with the same filename in Mask/. The mask encodes two regions using pixel values:
| Pixel value | Region |
|---|---|
| 0 | Background (no flood) |
| 255 | Foreground (flood area) |
Masks are 8-bit grayscale PNG files. A small number of intermediate values (~1–4% of pixels) may appear at region boundaries.
Image Import
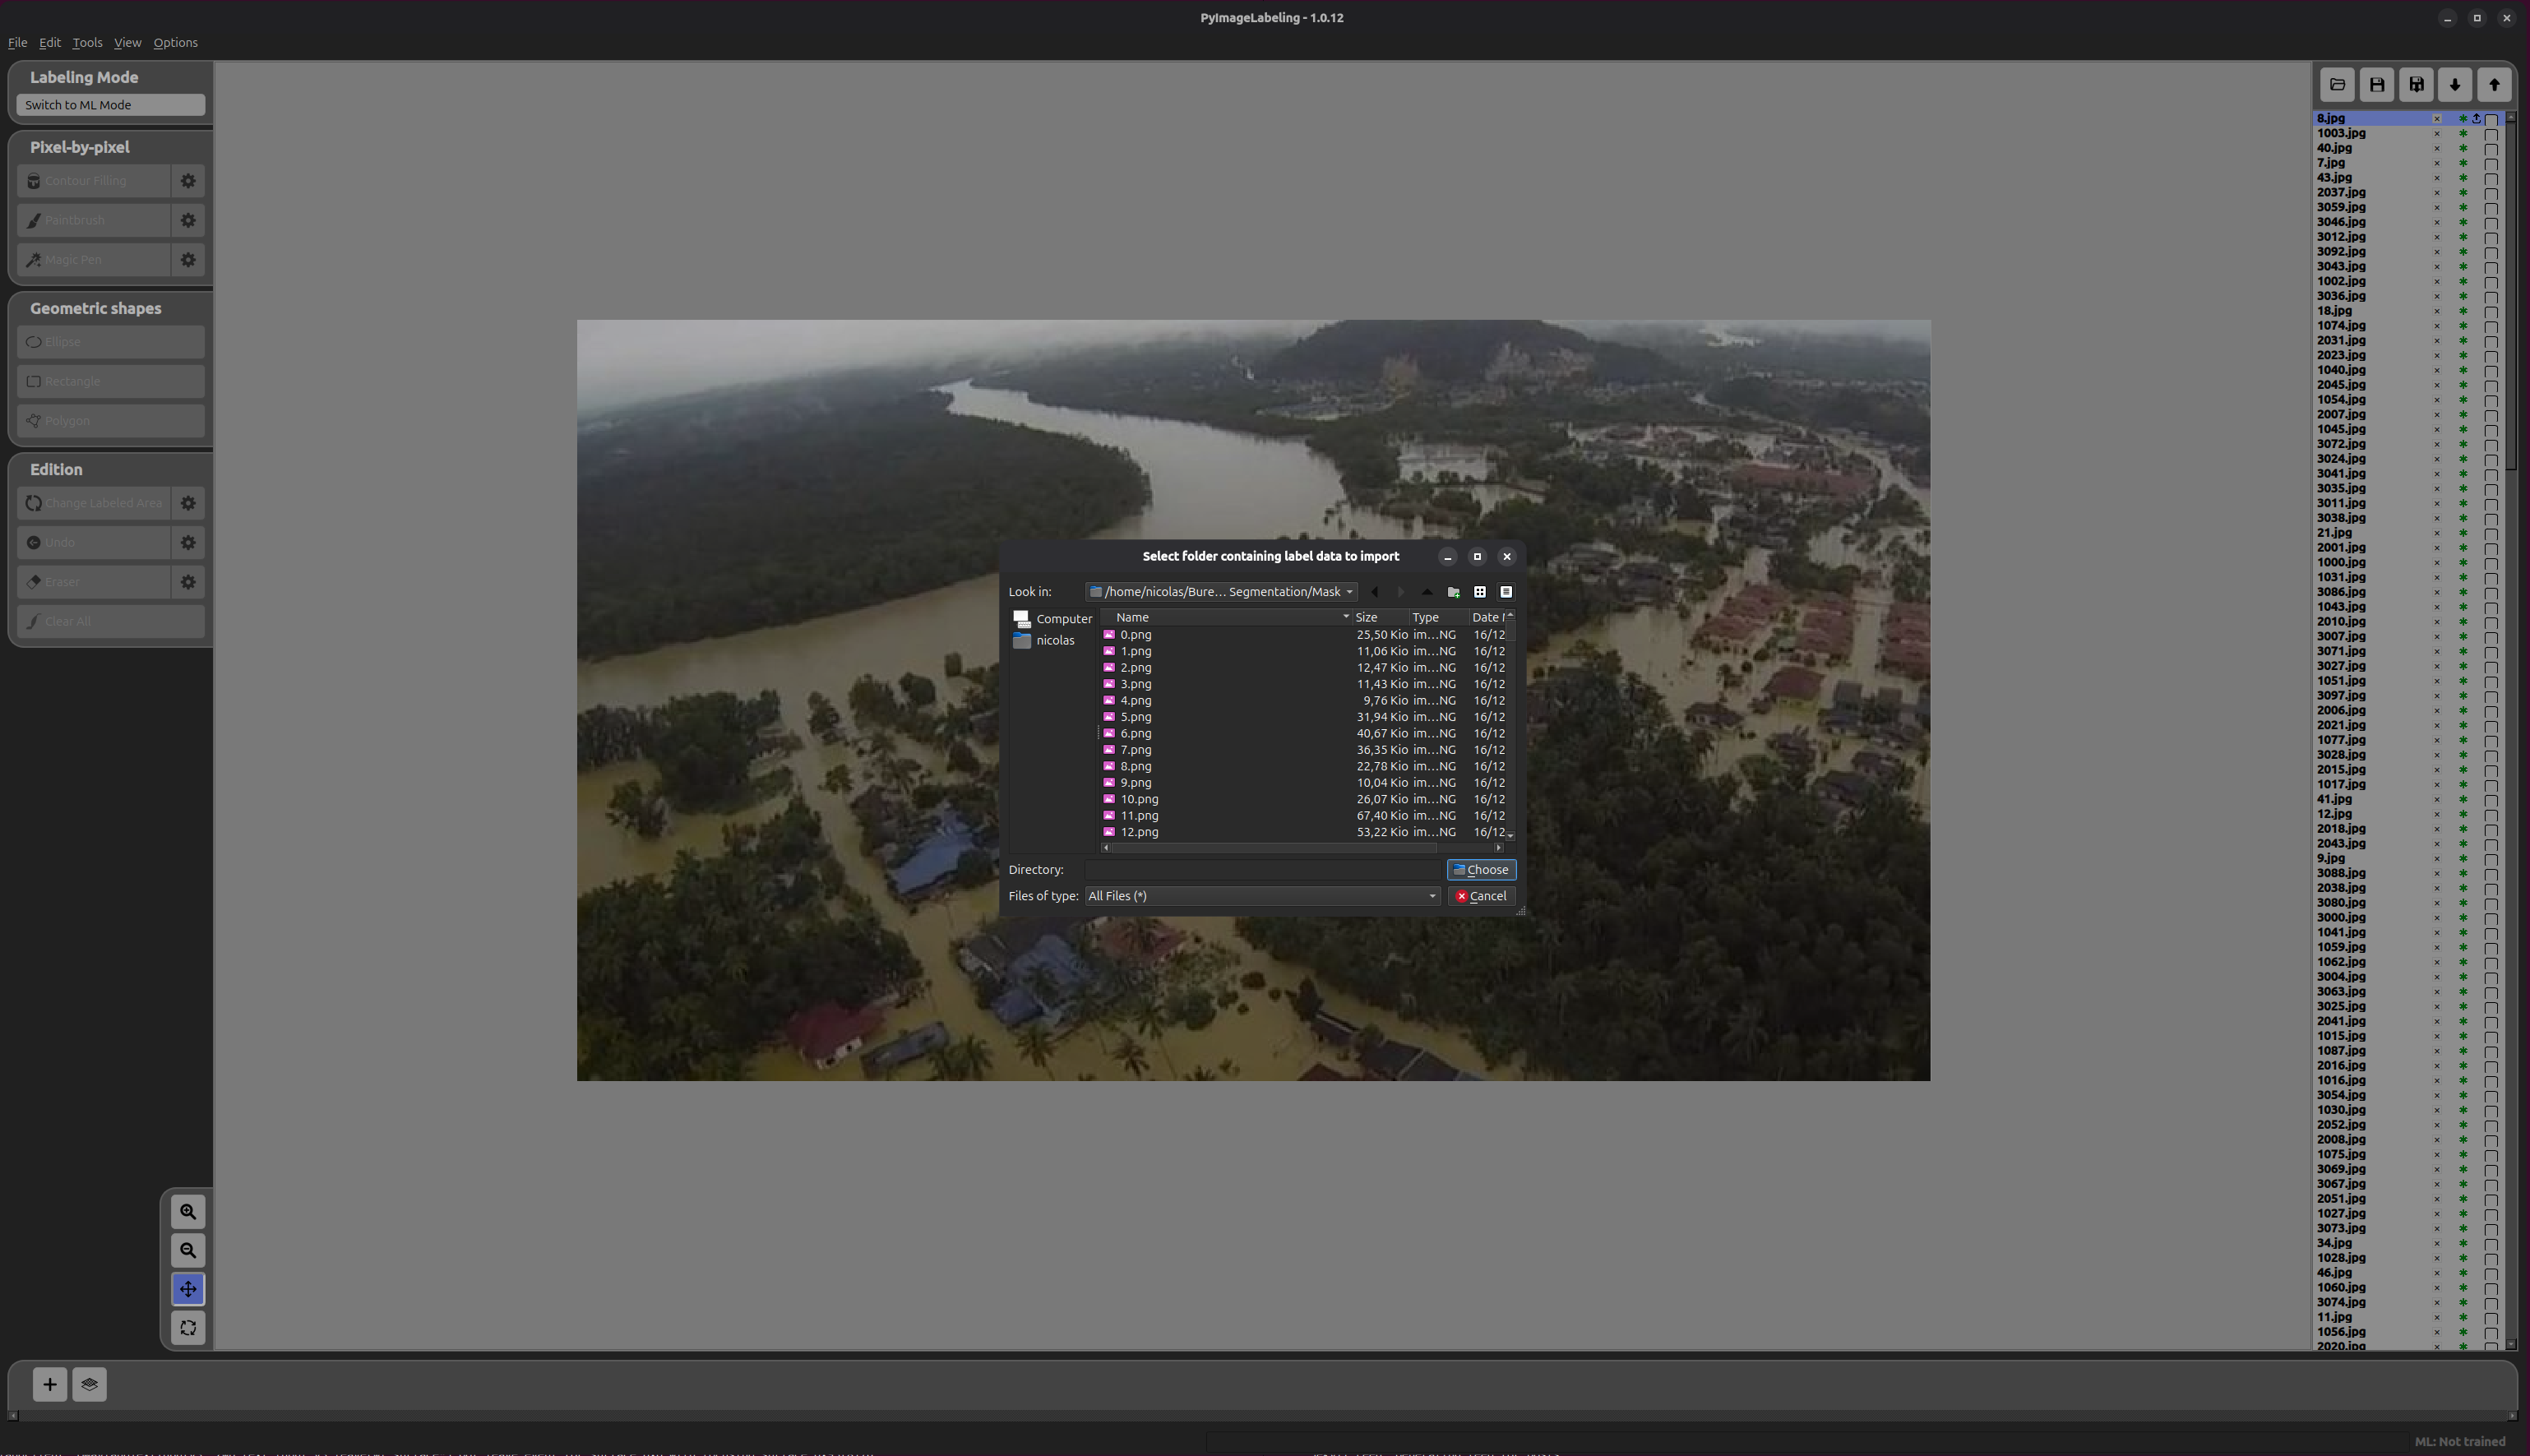
Click the open folder button (  ) to open the folder selection dialog, then navigate to the
 Image/ folder of the dataset and click Choose.
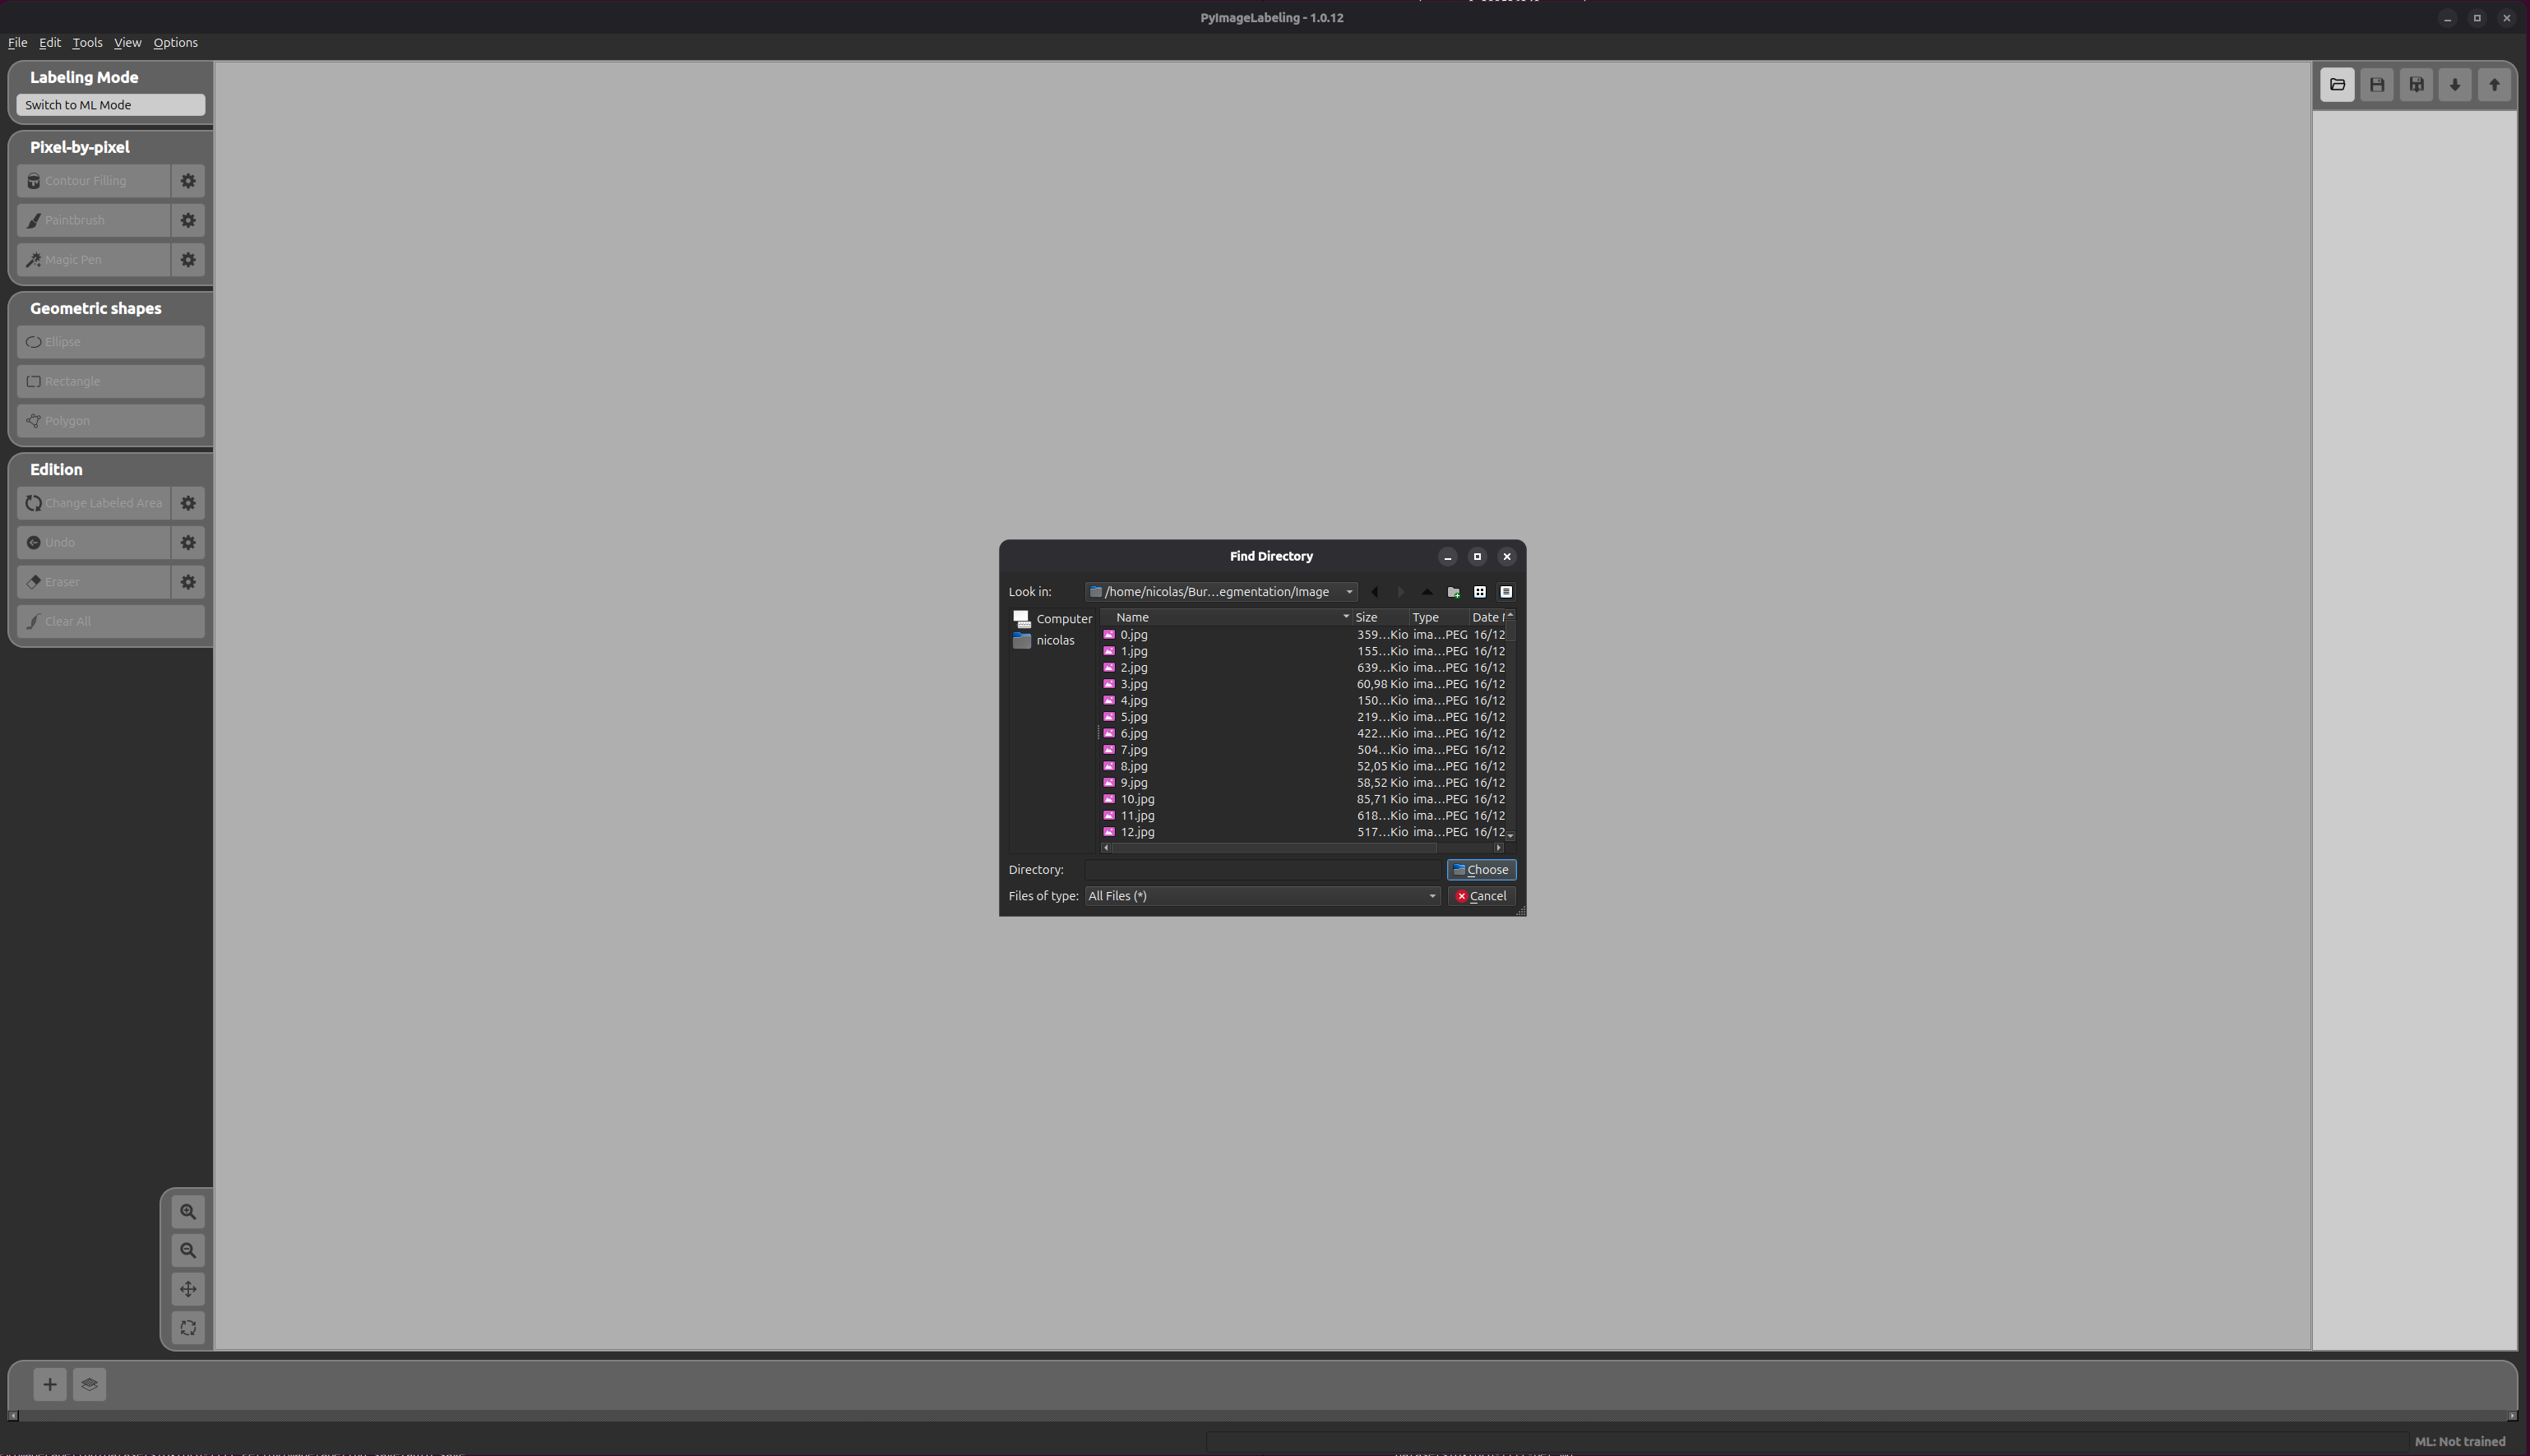
PyImageLabeling will then load all images from the folder. A progress dialog shows the import status.
Annotation Import
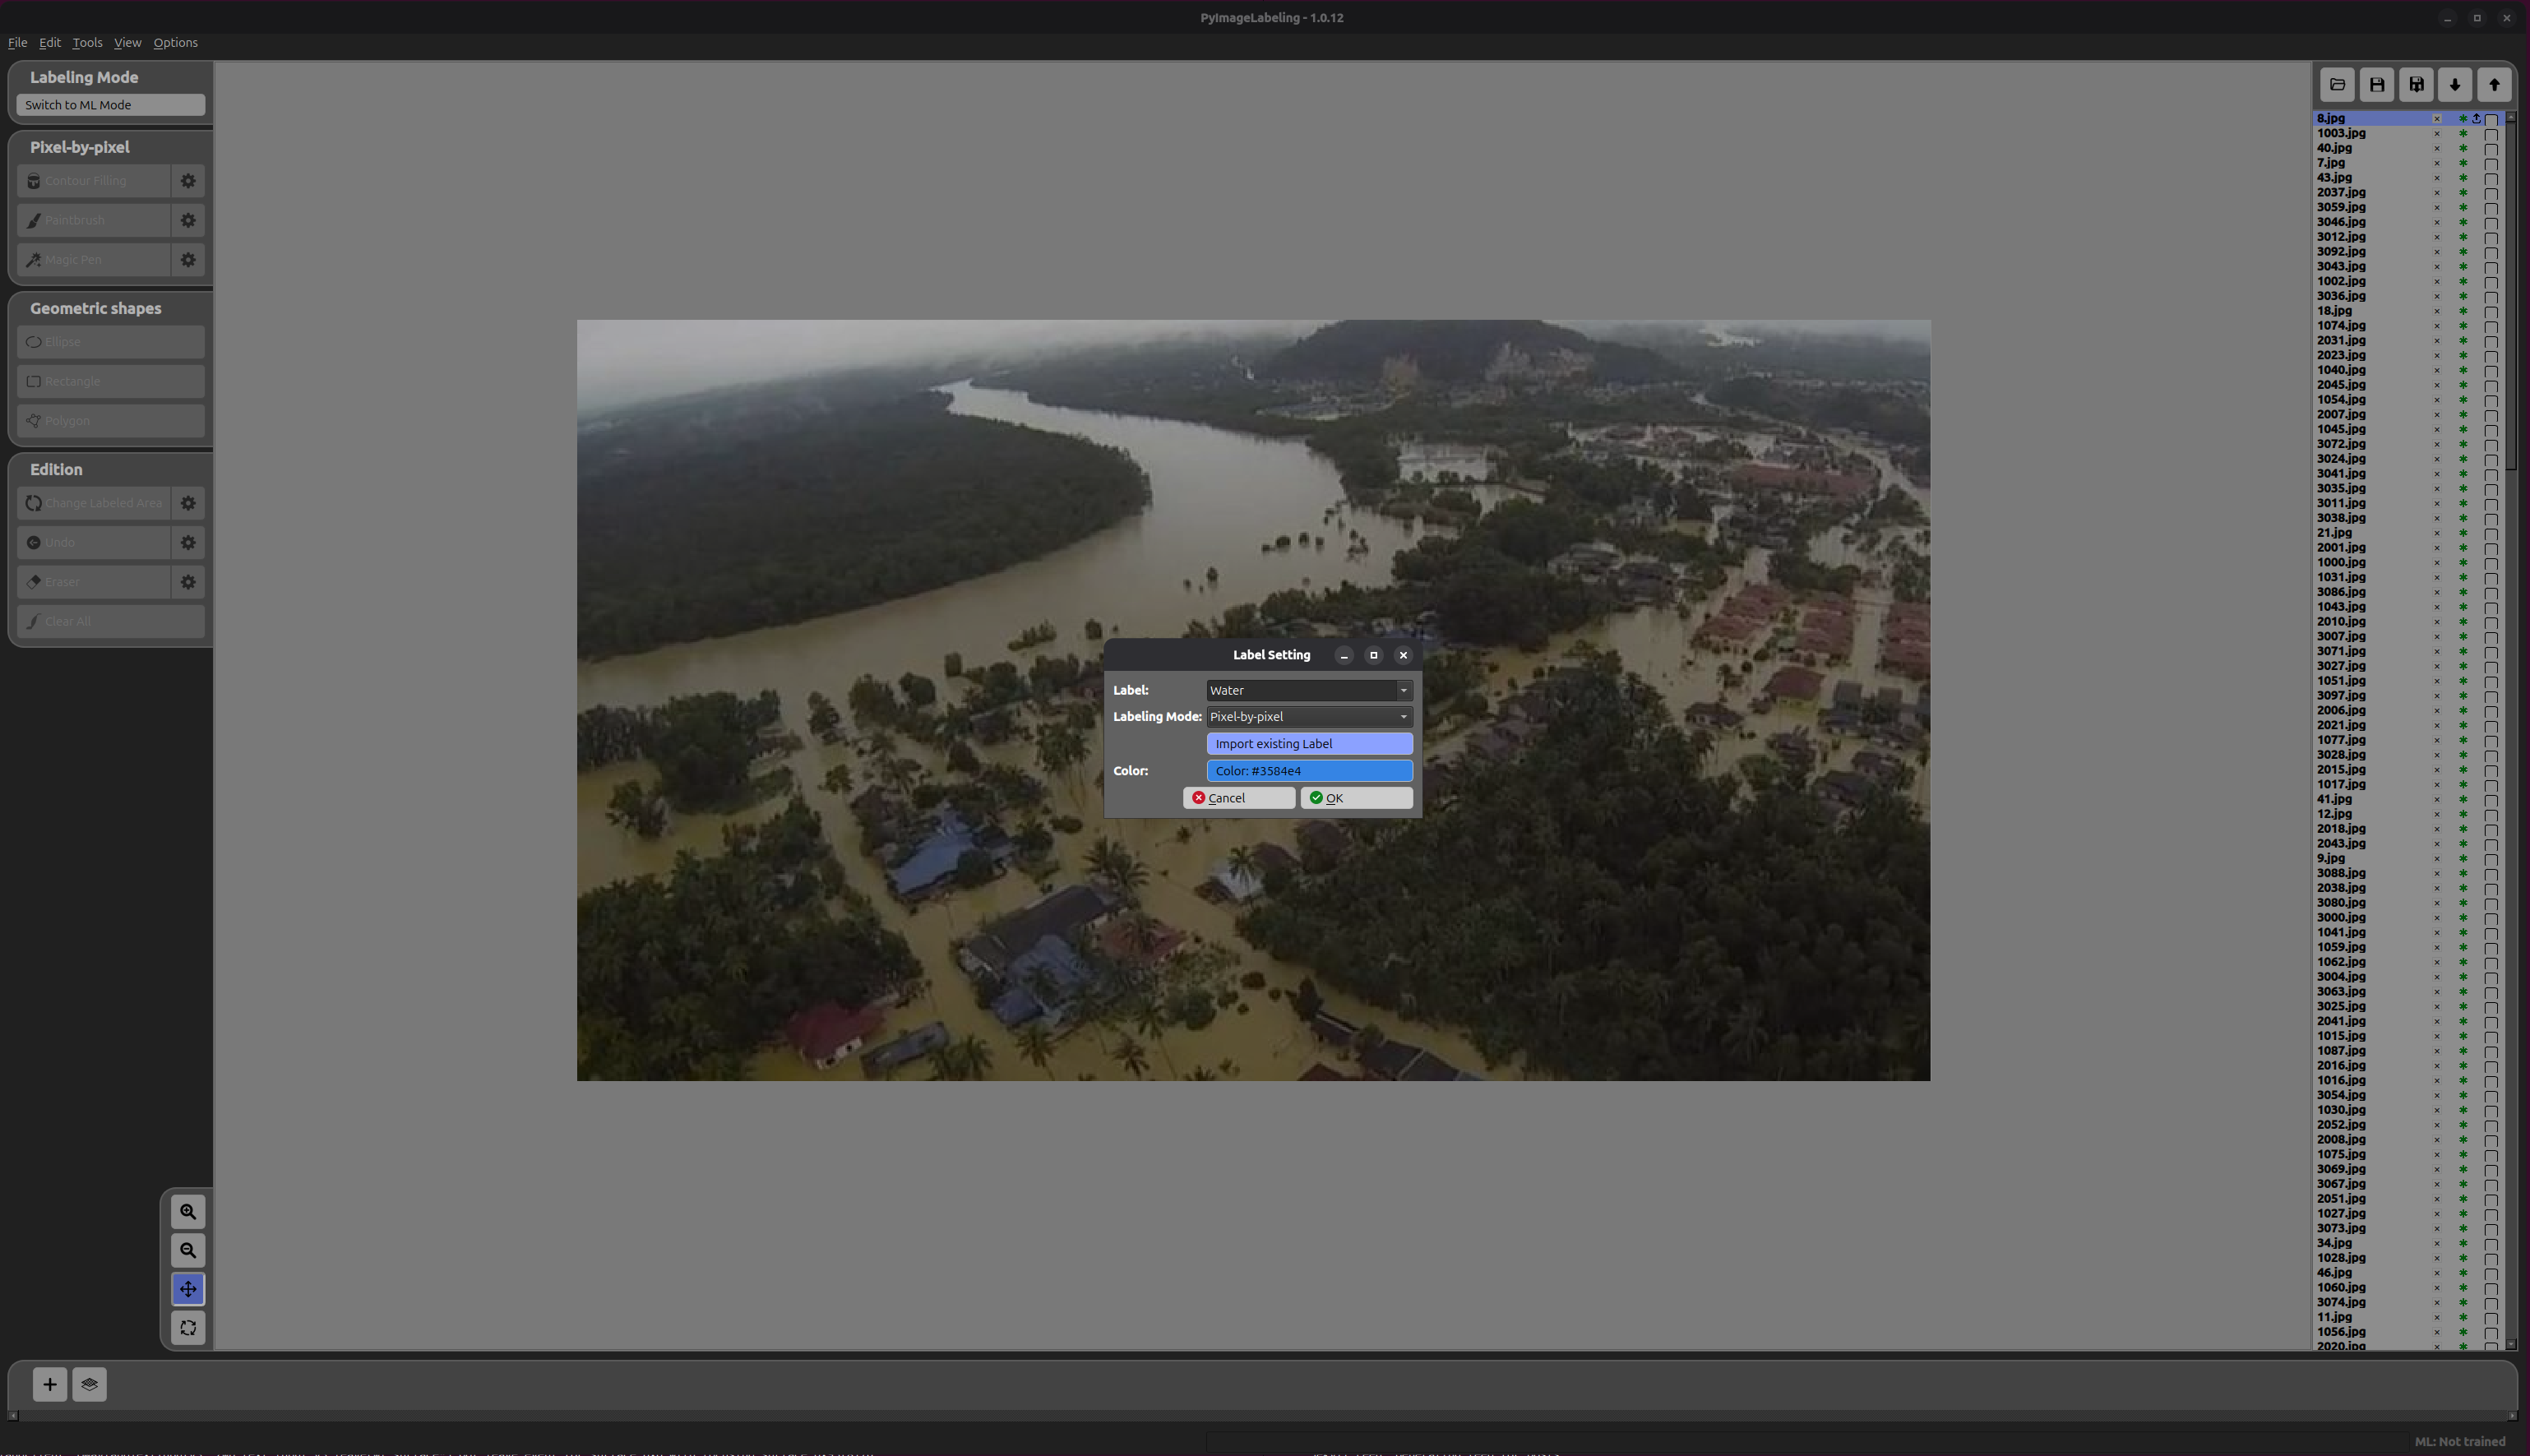
Click the add label button (  ) to open the Label Setting form. Fill in the fields, then click Import Existing Label to select the annotations folder.
Navigate to the Mask/ folder of the dataset and click Choose.
An Annotation Import Form then appears to configure how the masks should be interpreted.
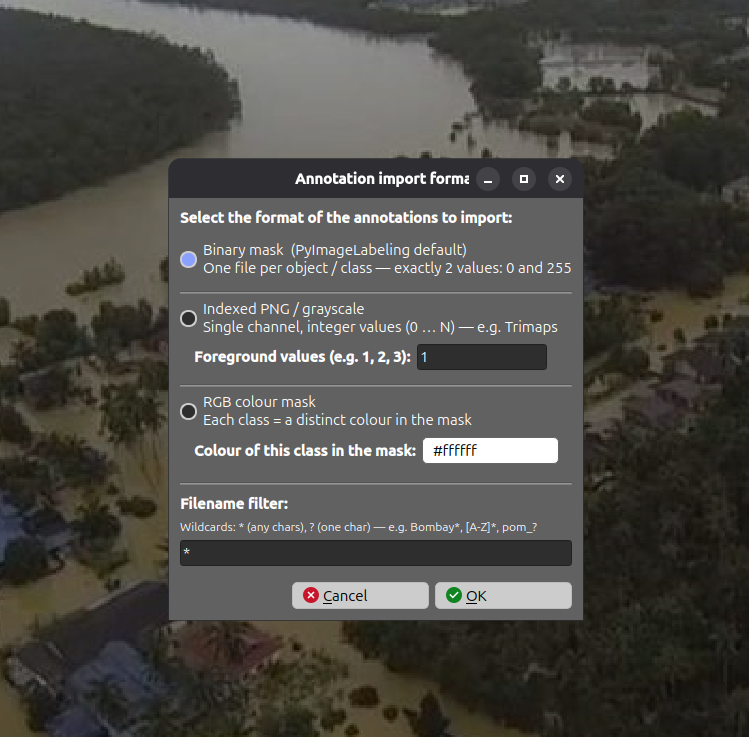
- Format — select Binary Mask since the masks are 8-bit grayscale PNG files with pixel values
0(background) and255(flood area).
Click OK to confirm.
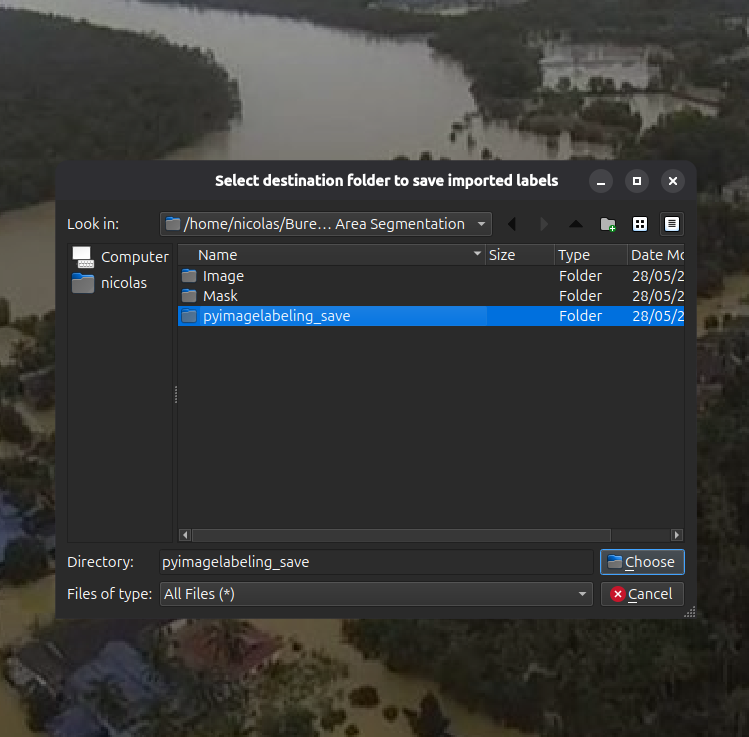
A final dialog then asks for the destination folder where PyImageLabeling will save its annotation files. Select the desired folder and click Choose.
Finally, click OK in the Label Setting form to complete the import.
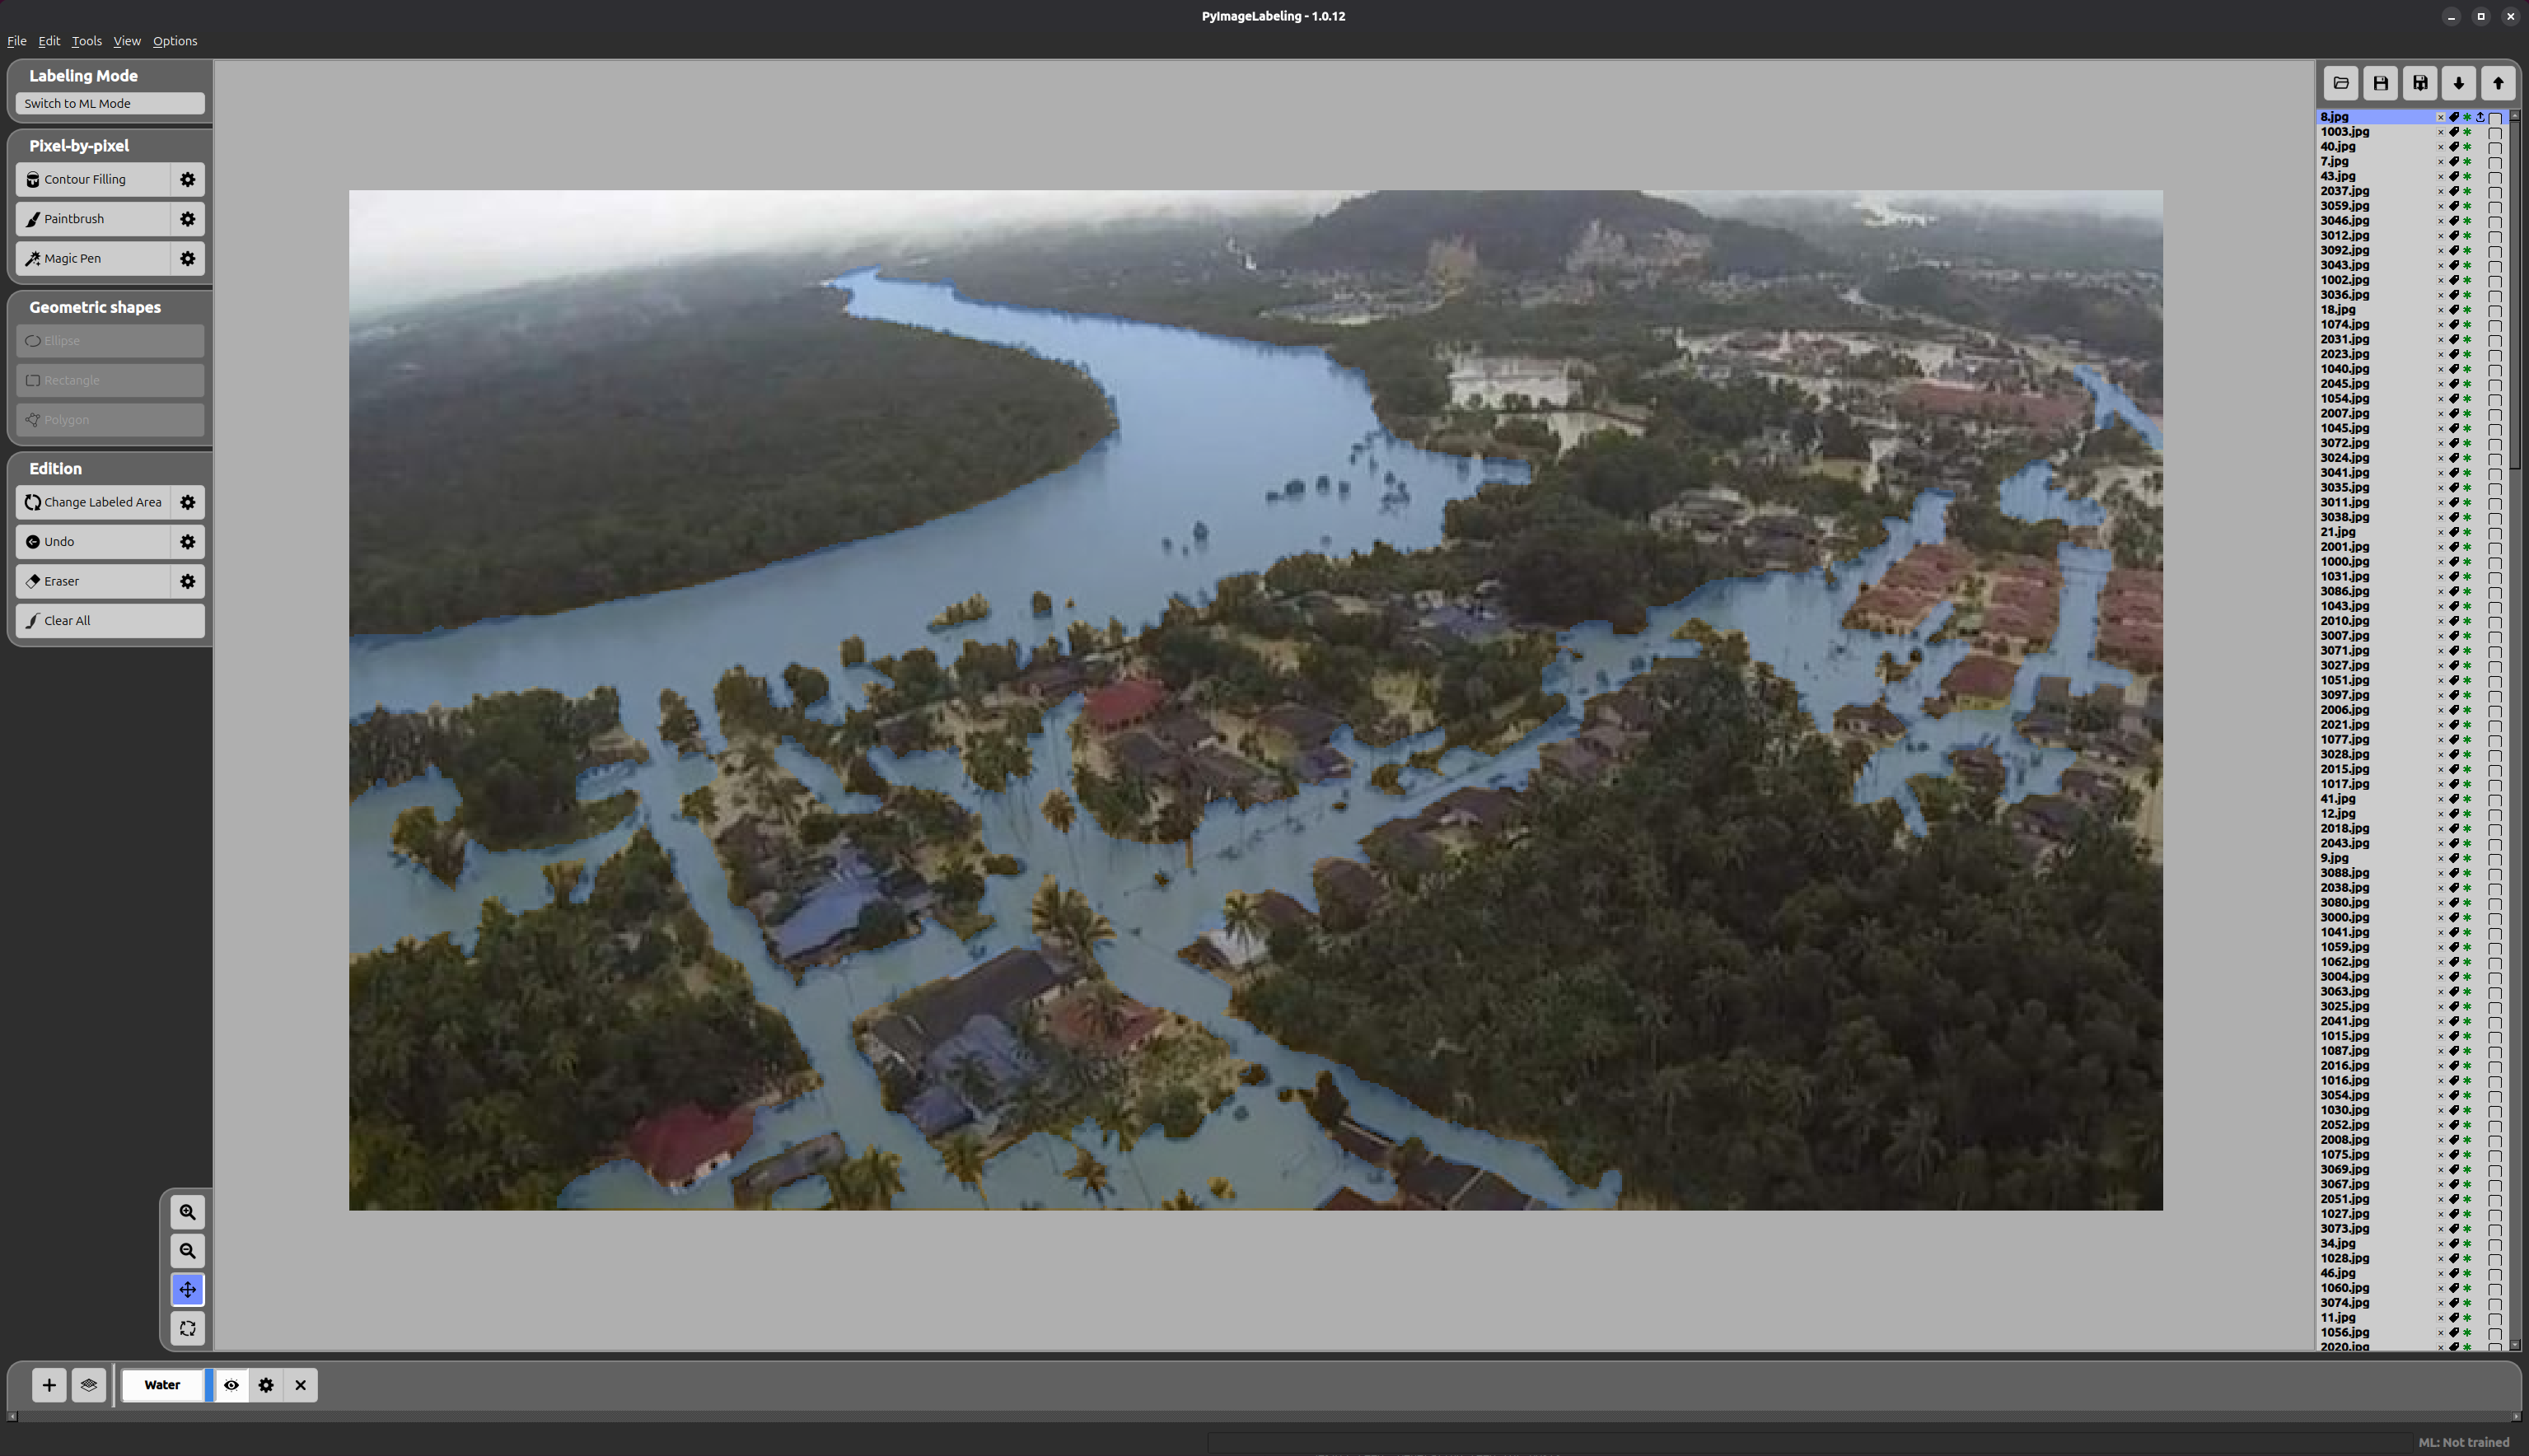
The result is shown below — the flood area is fully labelled with its annotation mask applied.